Building and Deploying a Full-Stack Video Conferencing App with Next.js
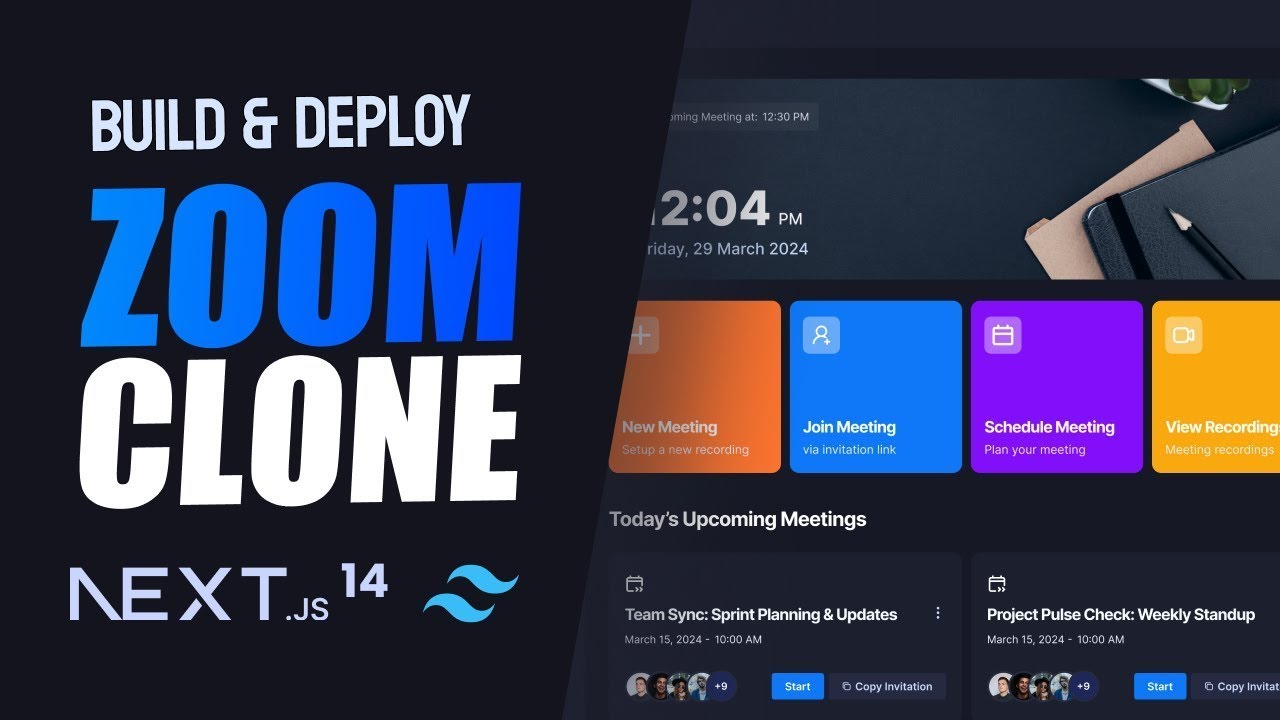
Have you ever envisioned integrating video calling capabilities into your application but hesitated due to perceived complexities? What if I told you that you can create a professional, enterprise-ready video conferencing app in just a matter of hours? In this guide, we delve into the exciting world of full-stack development, demonstrating how to build a video conferencing application using Next.js 14, Stream, and Tailwind CSS.
Getting Started with Next.js and Stream
Next.js is a powerful framework for building React applications, known for its exceptional performance and seamless SSR (Server-Side Rendering). Meanwhile, Stream provides scalable video and audio communication features, essential for any conferencing app. Combining these technologies allows for rapid development without compromising quality.
Why Choose Next.js?
Next.js brings several advantages for building modern web applications:
- Page-Based Routing: The built-in routing system is straightforward, allowing for easy navigation between different pages like Home, Meetings, and Recordings.
- Optimized Performance: Next.js automatically optimizes applications with features such as static site generation (SSG) and code splitting.
- APIs and Middleware: Its API routes enable server-side functionalities directly within the application structure, streamlining development.
Setting Up Your Development Environment
-
Create a New Project: Start by initializing a new Next.js application. Open your terminal and run:
npx create-next-app@latest my-video-app
cd my-video-app
-
Install Tailwind CSS: Tailwind CSS is a utility-first CSS framework that simplifies styling. Install this with:
npm install -D tailwindcss postcss autoprefixer
npx tailwindcss init -p
-
Set Up Stream: Stream's SDK will be used to handle video calls. Start by installing it:
npm install stream-chat-react stream-video-react
Building the Project
Structure of the Application
Create a project structure that adheres to the functionalities of a video conferencing app. Focus on building key features such as user authentication, meeting scheduling, and joining meetings.
Directory Structure:
pages/
index.js # Homepagemeetings.js # Meetings screenupcoming.js # Upcoming meetingsrecordings.js # View recordings
User Authentication with Clerk
To ensure secure user authentication, integrate Clerk, which simplifies user management, including login and registration. Use Clerk's UI components for smooth user experiences.
- Implement sign-in functionality using Clerk's
SignIn component.
Implementing Video Conferencing Features
1. Meeting Creation
Create a function to handle meeting initiation. Utilize Stream to generate video calls.
const createMeeting = async () => {
  const newMeeting = await streamClient.call.create({
    type: 'video',
  });
  return newMeeting;
};
2. User Interface Components
Design and implement UI components using React and Tailwind CSS for the following features:
- Meeting setup (camera and microphone controls)
- Call controls (mute, unmute, end call)
- Participant controls (show/hide participants)
Designing UI with Tailwind CSS
Using Tailwind CSS, design responsive and aesthetically pleasing components:
<div class="flex justify-center items-center bg-gray-800 text-white h-screen">
  <h1 class="text-2xl font-bold">Join Meeting</h1>
</div>
Handling User Interaction
- Use form inputs to capture meeting details (like topic and time).
- Implement buttons with click handlers to start, join or end meetings using call control state.
Deploying the Application
Hosting Your Application
Once development is complete, deploying your application is vital to make it accessible to users. The deployment process typically includes:
- Version Control: Push your code to GitHub.
- Deploy on Vercel: Use platforms like Vercel for deployment, which simplifies the process with automatic setup for Next.js applications. Just connect your GitHub repository and follow the deployment instructions.
Environment Variables
Set up necessary environment variables such as API keys for Stream and Clerk in your hosting provider's dashboard to ensure smooth operation.
Conclusion
By following this guide, you can build a sophisticated video conferencing app using Next.js, Stream, and Tailwind CSS. Leveraging modern web technologies not only streamlines the development process but also ensures scalability and a fantastic user experience.
Ready to take your development skills to the next level? Consider exploring additional projects or integrating advanced functionalities into your app. Happy coding!


Comments
Post a Comment